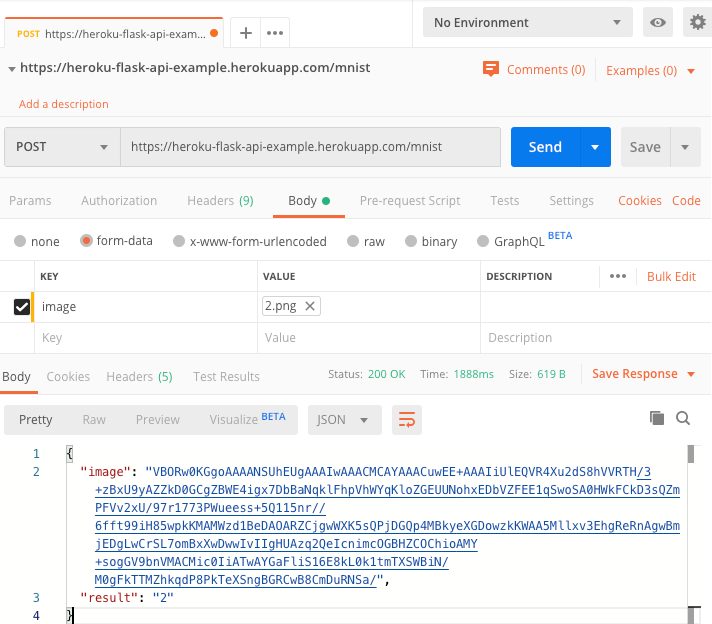
這一個repo以手寫數字辨識為例,拿一個先已經訓練好的模型進行Python Flask API的開發與部署到Heroku。以下簡要說明Heroku雲端部署所需要的設定檔。
Procfile 這個檔案是要告訴 Heroku 要如何啟動這個 web app,在 Heroku 裡,執行 Python 要使用 Gunicorn 來啟動 web server。所以在 requirements.txt 裡,請記得要輸入 gunicorn。Procfile 檔案,的內容如下。
web gunicorn run:app
由於我們的 AI 專案內需要使用 OpenCV 的套件,因此我們需要在Heroku中安裝 OpenCV 相關的套件。因為 Heroku 採 Linux 系統,因此我們要透過 apt 來安裝以下函式庫:
libsm6
libxrender1
libfontconfig1
libice6
確認以下事情都完成後就可以部署程式囉!記得我們有跟GitHub連動,當你的專案git push後Heroku就會幫你自動部署了。你可以從Activity內看到部署狀態,也能從右上角 More -> View logs 觀看後台Log訊息。或者你也可以從Deploy內手動部署也行。
- Python Flask API程式撰寫 ✅
- 專案內建立Procfile與Aptfile設定檔 ✅
- Heroku建立專案 ✅
- Heroku與GitHub連動 ✅
- Heroku設定Buildpacks ✅
you can create a new project based on heroku-flask-api-example by doing the following:
git clone https://github.com/1010code/heroku-flask-api-example.git
cd heroku-flask-api-exampleWhen that's done, install the project dependencies.
python install -r requirements.txtAfter completing the installation step, you're ready to start the project.
| script | Description |
|---|---|
| start | Serves your app at localhost:5001 |
python run.py running locally! Your app should now be running on localhost:5001.
File report at this project's issue tracker if you noticed some problem or have improvement suggestions.

