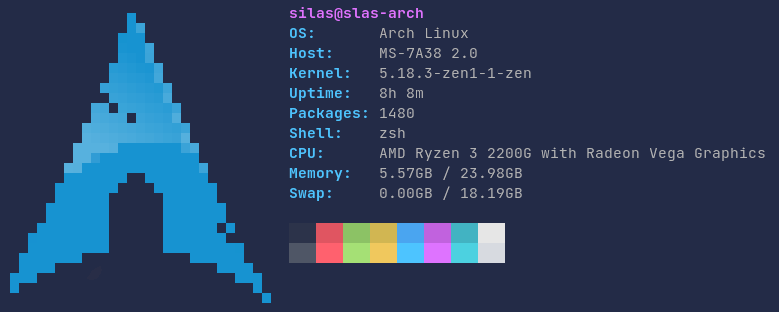
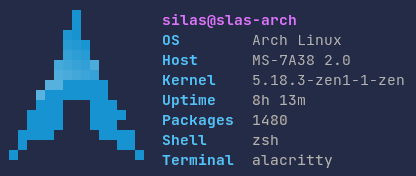
Another fetch program with pixelized images written in Rust
pixfetch can be configured using a config file in $XDG_CONFIG_HOME/pixfetch/config.toml or when $XDG_CONFIG_HOME is not set in $HOME/.config/pixfetch/config.toml. To see all options you can have a look at the default configuration file.
Additionally, all configuration can also be overridden with flags from the command line. To see those options run pixfetch --help or pixfetch -h for shorter descriptions.
On Arch Linux pixfetch can be installed through the AUR with a helper like paru or yay:
paru -S pixfetchIn case you do not need the man page and shell completion scripts you can also install pixfetch through cargo:
cargo install pixfetchYou can set these variables beforehand to be able to just copy below commands (edit the values accordingly):
version=1.0.0
platform=x86_64-unknown-linux-muslDownload the latest release for your platform from the releases page. In case there is no suitable download option for you, please open an issue:
wget https://github.com/RubixDev/pixfetch/releases/download/v$version/pixfetch-$version-$platform.tar.gztar -xvf pixfetch-$version-$platform.tar.gzand open the directory:
cd pixfetch-$version-$platformsudo install -Dm755 pixfetch /usr/bin/pixfetch
sudo install -Dm644 README.md /usr/share/doc/pixfetch/README.md
sudo install -Dm644 LICENSE /usr/share/licenses/pixfetch/LICENSE
sudo install -Dm644 doc/pixfetch.1.gz /usr/share/man/man1/pixfetch.1.gz
sudo install -Dm644 completion/_pixfetch /usr/share/zsh/site-functions/_pixfetch
sudo install -Dm644 completion/pixfetch.bash /usr/share/bash-completion/completions/pixfetch
sudo install -Dm644 completion/pixfetch.fish /usr/share/fish/vendor_completions.d/pixfetch.fishNote: For bash completion make sure you have
bash-completioninstalled
git clone https://github.com/RubixDev/pixfetch.gitcargo build --releasesudo install -Dm755 "${CARGO_TARGET_DIR:-target}/release/pixfetch" /usr/bin/pixfetch
sudo install -Dm644 README.md /usr/share/doc/pixfetch/README.md
sudo install -Dm644 LICENSE /usr/share/licenses/pixfetch/LICENSEThis is where the generated man page and shell completion scripts are located. The location of that folder was logged while building the binary. Alternatively you can use following command:
find "${CARGO_TARGET_DIR:-target}/release" -name pixfetch.1 -print0 | xargs -0 ls -t | head -n1 | xargs dirnameYou can then open that directory using cd.
gzip pixfetch.1
sudo install -Dm644 pixfetch.1.gz /usr/share/man/man1/pixfetch.1.gz
sudo install -Dm644 _pixfetch /usr/share/zsh/site-functions/_pixfetch
sudo install -Dm644 pixfetch.bash /usr/share/bash-completion/completions/pixfetch
sudo install -Dm644 pixfetch.fish /usr/share/fish/vendor_completions.d/pixfetch.fish
Note: For bash completion make sure you have
bash-completioninstalled