pgBouncerHud API REST
It benefits from three packages:
- Dingo API - dingo/api
- JWT-Auth - tymondesigns/jwt-auth
- Laravel-CORS barryvdh/laravel-cors
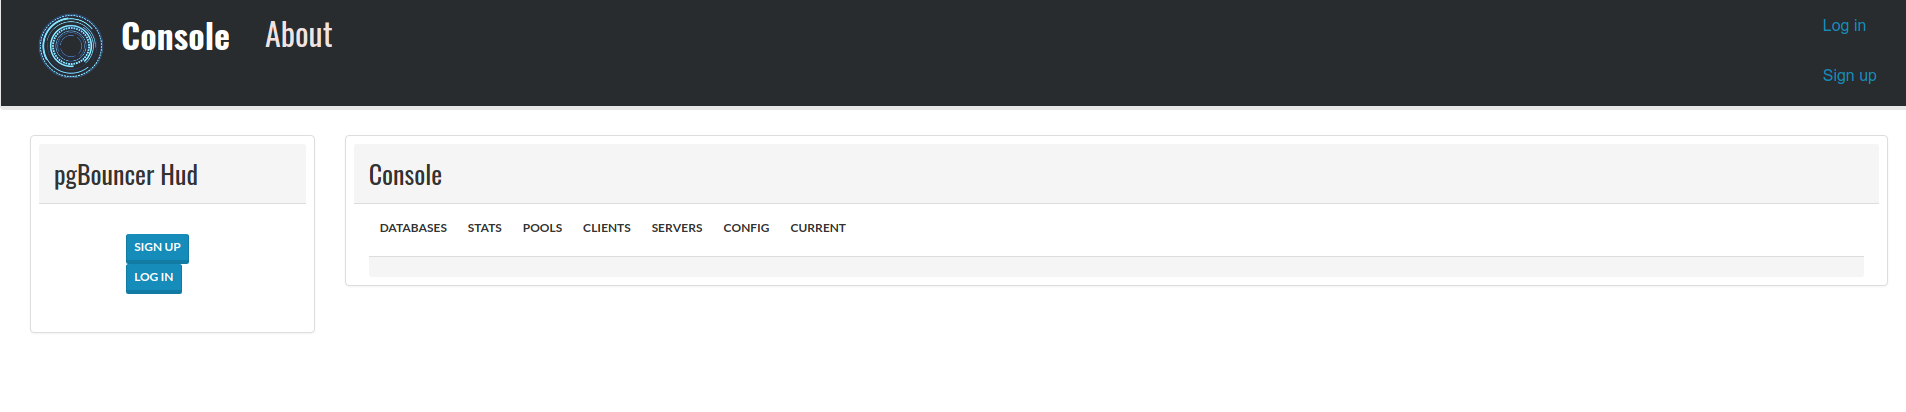
pgBouncerHud is a simple rest backend api over pgbouncers admin commands. Configuration of the bouncers is stored in a database.
It will need a working DB backend, and a running memcached host
Simple testing can be done by deploying the application with composer and then serving it with laravels: php artisan serve from
the repository's documentroot.
For more permanent installations, you should look into using nginx + php-fpm
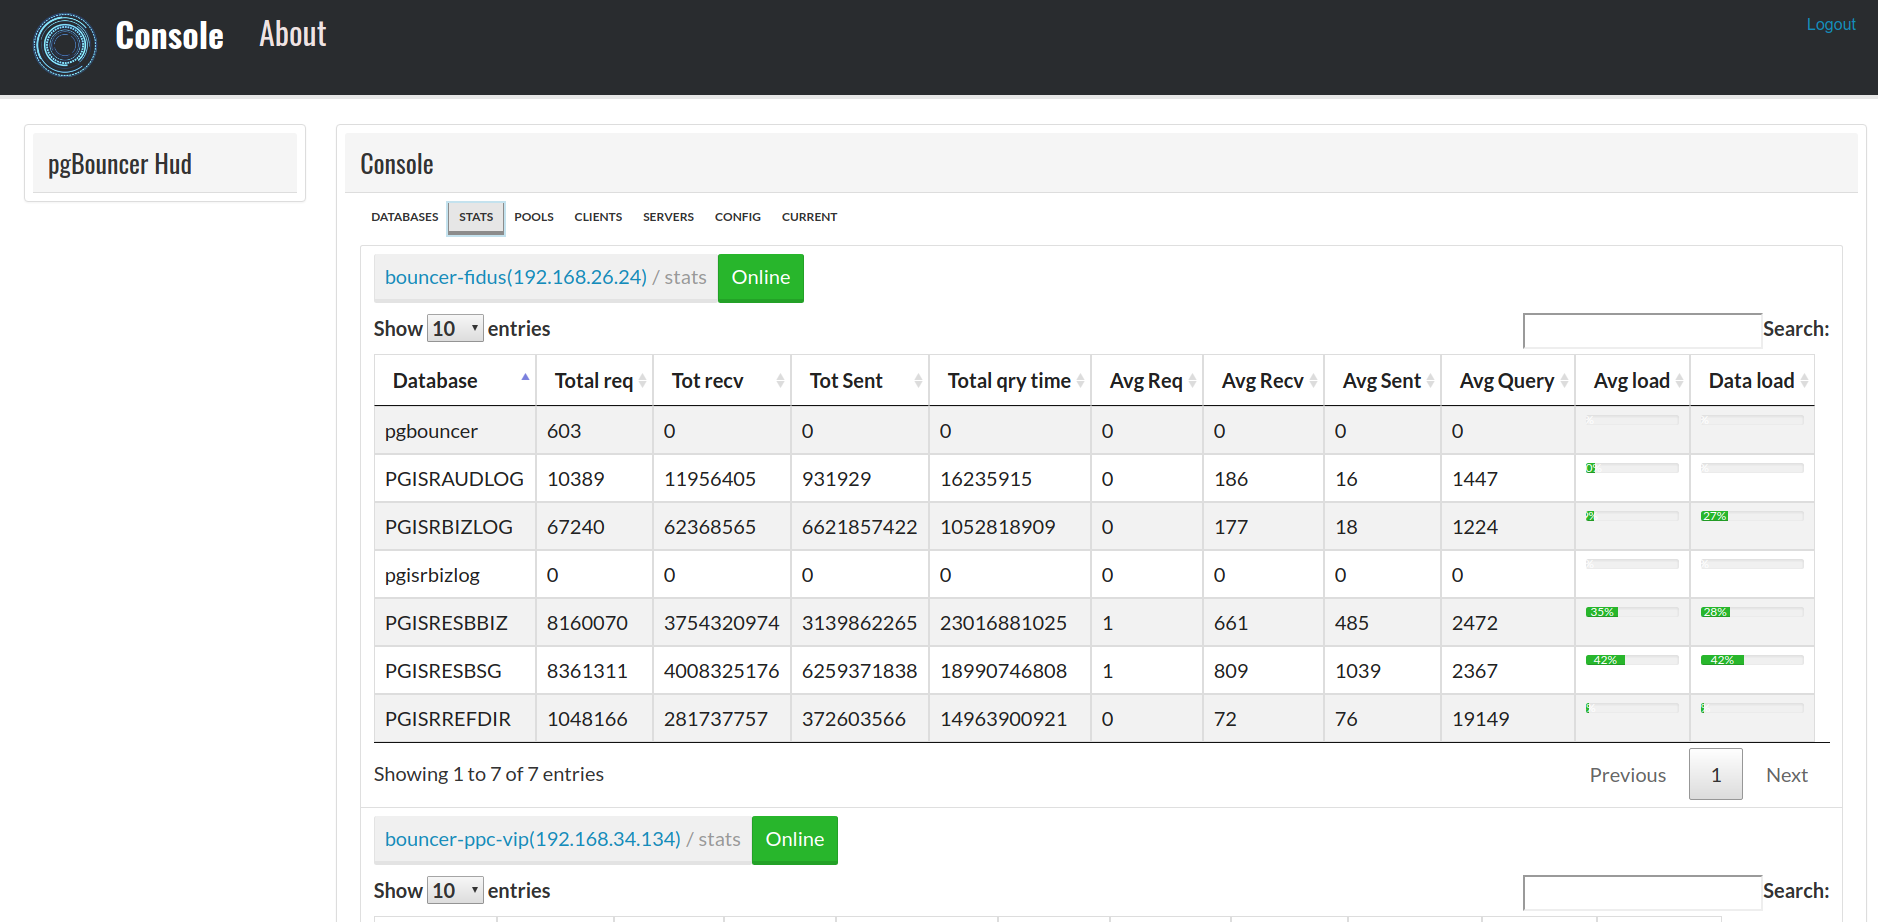
SHOW STATS in pgbouncer
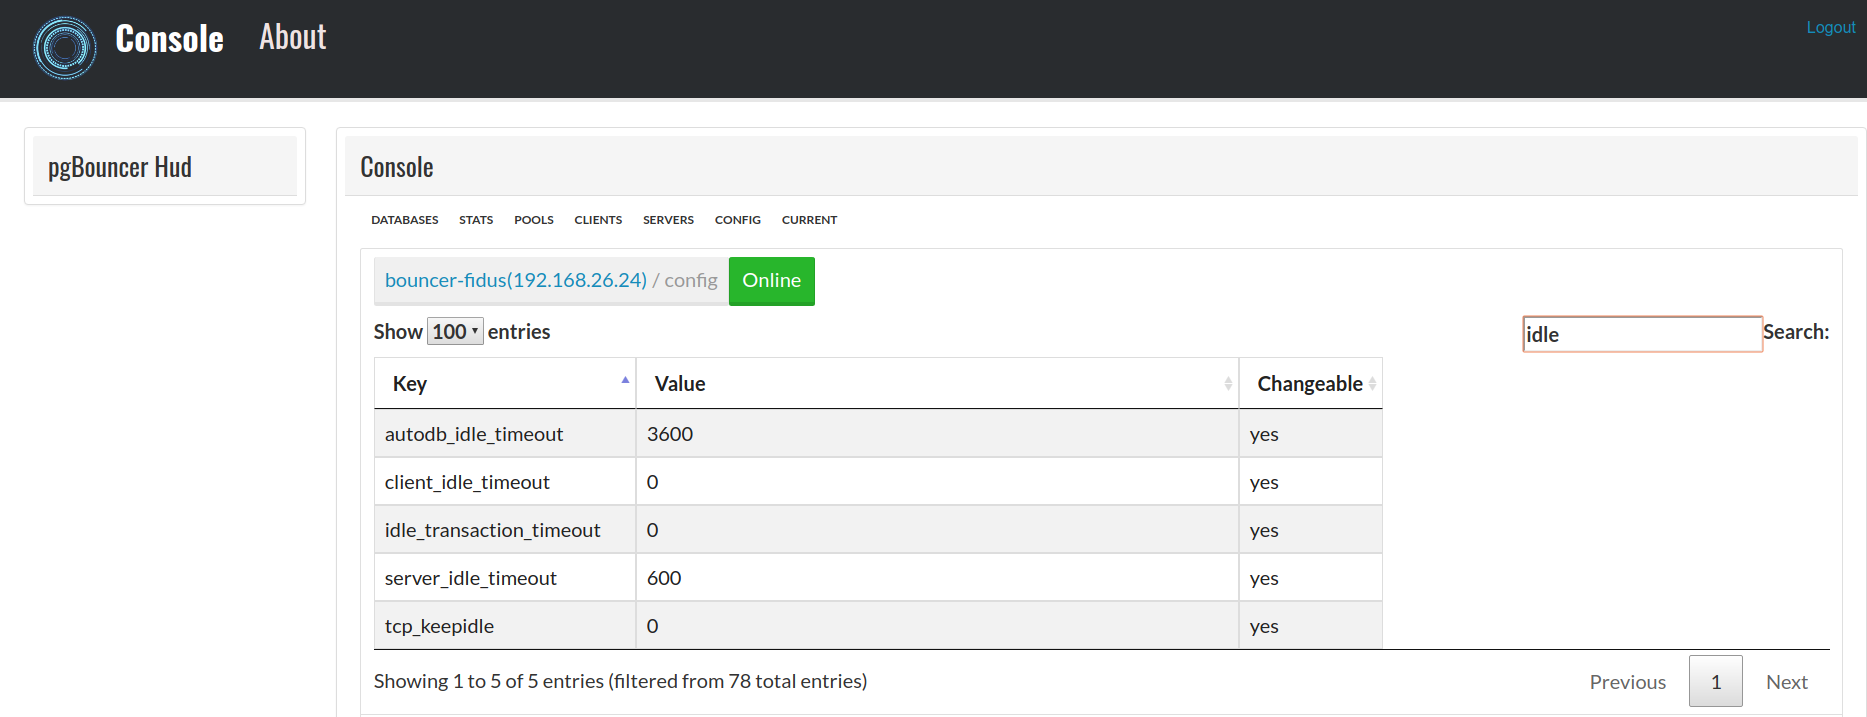
SHOW CONFIGURATION in pgbouncer
First, update the package manager cache by running:
sudo apt-get update
You will need the latest vagrant and virtualbox to use it.
Bring up the VM with
vagrant up
Now, let's install the dependencies. We'll need curl in order to download Composer and php5-cli for installing and running it. git is used by Composer for downloading project dependencies. Everything can be installed with the following command:
sudo apt-get install curl php5-cli git
You can now proceed to the next step.
Composer installation is really simple and can be done with a single command (use sudo for global install!):
curl -sS https://getcomposer.org/installer | sudo php -- --install-dir=/usr/local/bin --filename=composer
This will download and install Composer as a system-wide command named composer, under /usr/local/bin. The output should look like this:
All settings correct for using Composer
Downloading...

Composer successfully installed to: /usr/local/bin/composer
Use it: php /usr/local/bin/composer
To test your installation, run:

composer
Clone the source in a directort, cd into the directory and run composer install from there on the source tree. Time for coffee or watch the magic happen.
You can dig around the setup with php artisan and see the structure of the laravel commands set present, there are specific features we use.
$ cd /var/www/[_source_dir_]/public
$ php -S localhost:8000
php artisan key:generate
createuser <username>-data
set password for user using psql
ALTER USER "<username>-data" WITH PASSWORD 'your-password';
postgres@slicky:~$ psql
psql (9.3.9)
Type "help" for help.

postgres=# ALTER USER "test-data" WITH PASSWORD 'Secret';
ALTER ROLE
ALTER USER "" WITH PASSWORD '<new_password>';
createdb --encoding='utf-8' --owner=<username>-data apidev
match up the config to use psql in .env file. Now you can start provisioning the DB and create schema using models
Ready to create the migration table from the api root
$ php artisan migrate:install
This will create migrations table in your psql database
root@slicky:~# sudo -u postgres psql -d apidev
could not change directory to "/root": Permission denied
psql (9.3.9)
Type "help" for help.

apidev=# select * from migrations;
 migration | batch
-----------+-------
(0 rows)

apidev=#
Now check the migrations
glenn@slicky:~/repos/www-api$ php artisan migrate:status
+------+------------------------------------------------+
| Ran? | Migration                                      |
+------+------------------------------------------------+
| N    | 2014_10_12_000000_create_users_table           |
| N    | 2014_10_12_100000_create_password_resets_table |
| N    | 2016_08_09_125953_create_cache_table           |
+------+------------------------------------------------+
run them :
glenn@slicky:~/repos/www-api$ php artisan migrate
Migrated: 2014_10_12_000000_create_users_table
Migrated: 2014_10_12_100000_create_password_resets_table
Migrated: 2016_08_09_125953_create_cache_table
Now they exist in the DB, password/users and cache table is present and the application can now be configured with user entries to get access to the api
run the server first, then make sure you send a post request with form-data like:
name:Glenn Plas
email:[email protected]
password:my_moderate_secure_password
and you will receive a token response in the form:
"token": "eyJ0eXAiOiJKV1QiLCJhbGciOiJIUzI1NiJ9.eyJzdWIiOjIsImlzcyI6Imh0dHA6XC9cL2xvY2FsaG9zdDo4MDAwXC9hcGlcL2F1dGhcL3NpZ251cCIsImlhdCI6MTQ3MDc0ODQ5MCwiZXhwIjoxNDczMzQwNDkwLCJuYmYiOjE0NzA3NDg0OTAsImp0aSI6ImIwMTc2ZmM5MzliNWE2NDM1YmNhYmM3YWNjYjY3ZTY5In0.cqZkt3Yjh7pu1cf1pWkP-80VrsHGk-HjXnjfHl4ZKvU"
Now you can try a POST signup/login with the endpoints
Or later a GET request (not implemented yet)
cd /usr/local/src
Restart PHP-FPM with
sudo /etc/init.d/php5-fpm restart
composer require <my_composer_package>"*@dev"
$ composer update
Package videlalvaro/php-amqplib is abandoned, you should avoid using it. Use php-amqplib/php-amqplib instead.
There is an "AuthController" in App\Api\V1\Controllers. It supports the four basic authentication/password recovery operations:
- login();
- signup();
- recovery();
- reset();
In order to work with them, you just have to make a POST request with the required data.
You will need:
- login: just email and password;
- signup: whatever you like: you can specify it in the config file;
- recovery: just the user email address;
- reset: token, email, password and password confirmation;
In Chrome there is an extension called POSTMAN(extensions will be phased out though). It works really good on linux. You can craft requests in there.
You need to specify your routes in the api_routes.php file, that will be automatically loaded. In this file you will find many examples of routes.
Every time you create a project starting from this source, the php artisan jwt:generate command will be executed.
This boilerplate is based on dingo/api and tymondesigns/jwt-auth packages. So, you can find more information about the configuration at tymondesign github and dingo wiki.
However, there are some extra options placed in a config/boilerplate.php file.
- signup_fields: you can use this option to specify what fields you want to use to create your user;
- signup_fields_rules: you can use this option to specify the rules you want to use for the validator instance in the signup method;
- signup_token_release: if "true", an access token will be released from the signup endpoint if everything goes well. Otherwise, you will just get a 201 Created response;
- reset_token_release: if "true", an access token will be released from the signup endpoint if everything goes well. Otherwise, you will just get a 200 response;
- recovery_email_subject: here you can specify the subject for your recovery data email;
You can create endpoints in the same way you could to with using the single dingo/api package. See dingo documentation for details.
If you want to enable CORS for a specific route or routes group, you just have to use the cors middleware on them.
With the barryvdh/laravel-cors package, you can handle CORS easily. Just check _barryvdh/laravel-cors for more info.
Alternatively you can choose to let nginx take care of cors handlings
To test the performance and stability of the API we can use ab to stress it. From the command line , do this. Make sure to create the file text.json with correct request data
ab -l -r -n 1000 -c 20 -k -p text.json -H "Accept-Encoding: gzip, deflate" -H "Authorization: Bearer eyJ0eXAiOiJKV1QiLCJhbGciOiJIUzI1NiJ9.eyJzdWIiOjEsImlzcyI6Imh0dHBzOlwvXC90ZXN0LmRldnRlc3Rpbmcucm9ja3NcL2FwaVwvYXV0aFwvc2lnbnVwIiwiaWF0IjoxNDc1MzI2MDk0LCJleHAiOjE3MzQ1MjYwOTQsIm5iZiI6MTQ3NTMyNjA5NCwianRpIjoiMjU1ODIzYzllMGRhMmU0NjUyZTg5MTc4NDFlZDNhOWIifQ.o2Oa_EMkcmi3g6KpjegfX3DXpwgVF3moTCd3Bvz2T1M" -T application/json https://test.devtesting.rocks/api/databases
The file text.json can be found in the 'tests' dir