Building automation of a virtual machine (VM) from a server install image of ubuntu (ISO file)
- containing The Littlest JupyerHub (TLJH)
- with the help of Packer, Vagrant and Ansible tools
- for using with VirtualBox or OpenStack.
For more details on the whole process, see https://inrae.github.io/jupyterhub-vm/
Requires VirtualBox, Packer, Vagrant to be installed beforehand.
-
VirtualBox: this is what we call the provider. If the objective is to use the VM on his desktop computer, then the VM will have to run in VirtualBox. If the objective is to use the VM in the cloud (OpenStack for example), then VirtualBox is only used here as an intermediary to build the VM.
-
Packer : allows the creation of a virtual machine from an ISO, having a very precise control over its characteristics. Here it will allow us to build a VM compatible with the Vagrant tool, called a box.
-
Vagrant : allows building virtual machines from basic building blocks called boxes for Providers by provisioning them by Provisioners such as Ansible.
-
Ansible which is a powerfull tool allowing to describe tasks using Playbooks, then turn tough tasks into repeatable playbooks. It is not necessary to install Ansible beforehand. It will be installed temporarily on the virtual machine to proceed the provisionning. It will be removed at the end of the VM creation.
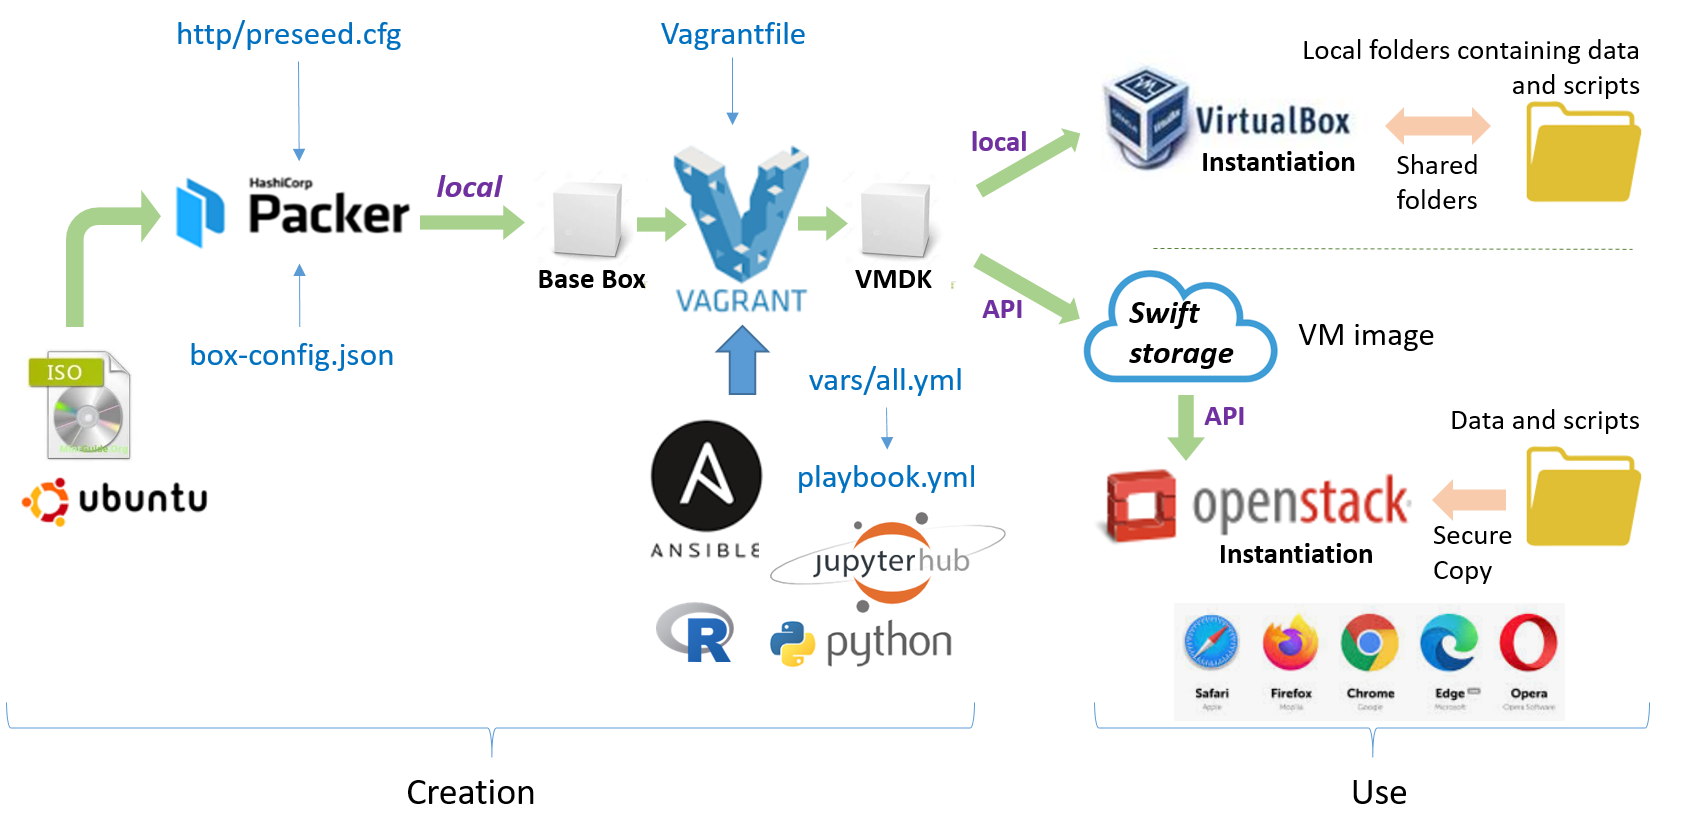
- http/preseed.cfg : Debian-based VM preconfiguration file (ubuntu).
- box-config.json : configuration file used by Packer to define what image we want built. In particular, you can adjust the disk size (18 Gb).
- Vagrantfile.tmpl : template for the configuration file used by Vagrant to describe the type of the machine and how to configure and provision it. This template file is used by the build.sh script (see below) to generate the real Vagrantfile used by Vagrant.
- ansible/vars/all.yml : Variable definition file used by ansible to configure the installation of the VM and the packages, modules, etc. In particular, you can put here all R packages and Python modules to be installed and available in Jupyter notebooks.
The shell script build.sh can run each step separately or all at the same time.
Note: You must edit this file before launching to ensure that the paths to the packer and vagrant binary programs match your configuration. In the case of an installation under Windows 10 / Cygwin 64 bits for example, it would be a good idea to specify the correct paths directly in the script. You can change the default IP and the default data path (shared data).
- Generate the vagrant box based on Packer.
$> sh ./build.sh -p
The script launches the command packer build box-config.json. As results, a vagrant box will be generated under the builds folder.
- Generate the VM into VirtualBox
$> sh ./build.sh -u
The script launches the command vagrant up. As results, a VM will create into VirtualBox. You can test it. You can also made a SSH connection in 2 ways :
    * First,  ssh -p2222 [email protected]
    * Second  ssh vagrant@<IP of your VM>
In both cases, no password will be asked if ssh-agent running. Otherwise, enter vagrant as password.
The default IP and the default data path (shared data) are those defined in the build.sh script.
- To specify another IP, use the -i option. VirtualBox will create the corresponding Ethernet adapters. You need to specify -i dhcp if the VM is to be run on the cloud.
- To specify another data folder, use the -d option. You need to specify -d none if the VM is to be run on the cloud. In the latter case, you can put files (data, scripts) under the ansible/roles/jupyterhub/files/share folder so that they are included in the shared folder within the VM and accessible in the 'shared_data' folder in jupyter notebooks. This folder can also be replaced by a symbolic link pointing to another folder containing the data and/or scripts to be shared.
- Export the VM
$> sh ./build.sh -e
The script launches the command vagrant package. As results, a VM file will create under the builds/vm folder. You can use it as a virtual appliance into VirtualBox or in an OpenStack cloud.
All steps can be run at the same time:
$> sh ./build.sh -pue -i <IP> -d <shared data folder>
The first time you log in to JupyterHub via the web interface, you must enter the administrator's login and password. The administrator's login is admin (configured in the file ansible/roles/jupyterhub/tasks/install.yml).
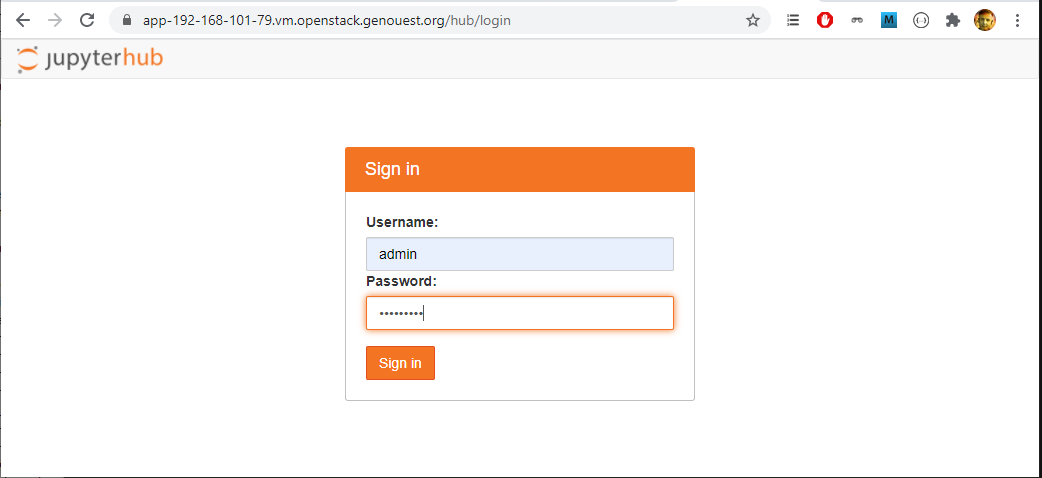
The password is to be set by entering it when logging in for the first time. Then, it is registered as a user account of the machine (Linux account). Thus, you will have to enter the same password for subsequent logins. To change it, you will have to connect to the VM via a console and change it with the command passwd.