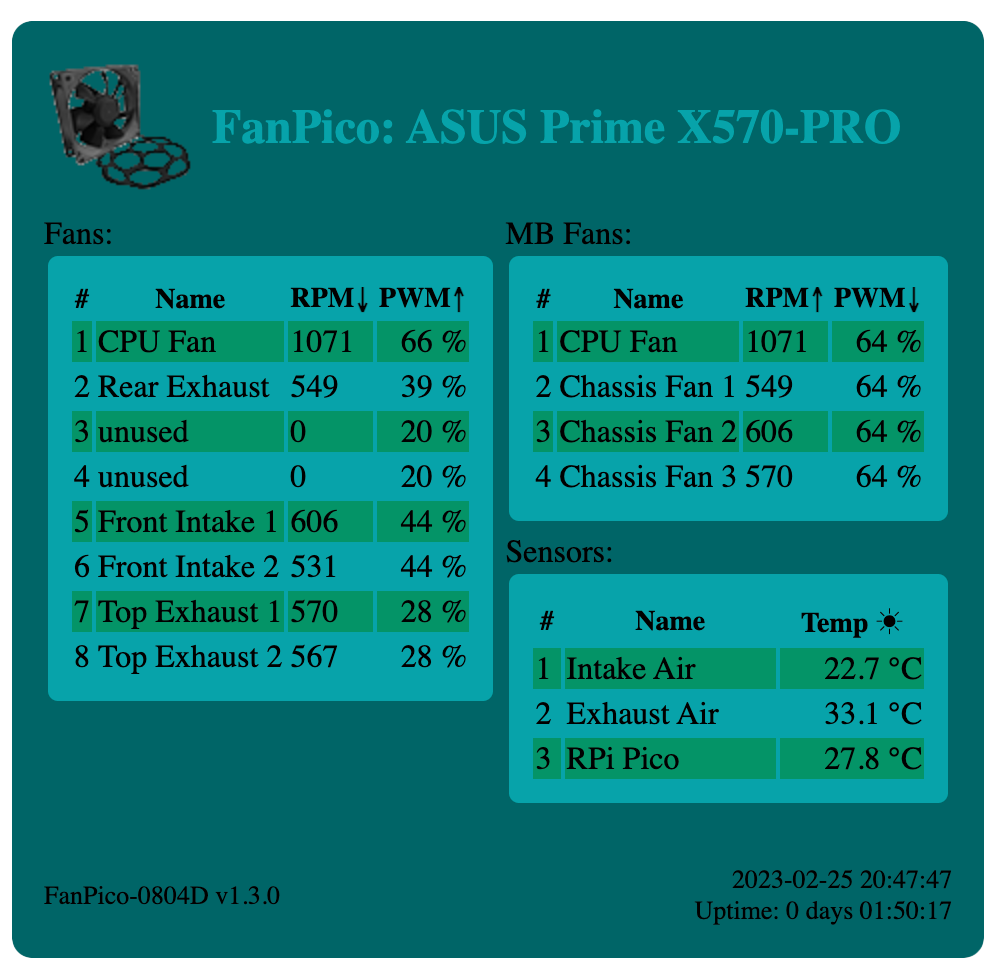
FanPico Web Interface
If a Raspberry Pi Pico W is installed on FanPico PCB then there is basic Web Interface available for monitoring.
To join FanPico into a WiFi network, configure network SSID and passphrase:
SYS:WIFI:SSID mynetwork
SYS:WIFI:PASS mypassword
By default FanPico will use DHCP for obtaining IP address and other network settings. So normally there is no need to manually configure network settings.
To manually configure static network settings, configure IP, Netmask, and Gateway.
For example:
SYS:WIFI:IP 192.168.1.42
SYS:WIFI:NETMASK 255.255.255.0
SYS:WIFI:GATEWAY 192.168.1.1
After WiFi is configured save configuration and reset the unit:
CONF:SAVE
*RST
Then wait for unit to reboot (and give it few seconds to connect to network).
We can use SYS:WIFI:STAT? command to check if FanPico is now successfully connected to network:
SYS:WIFI:STAT?
1,192.168.1.200,255.255.255,0,192.168.1.1
When connected to network first field returned should be "1" (see command description for list of possible status codes).
Web interface provides CSV and JSON formatted status output as well, to make it easier to automate status monitoring.
FanPico status in comma separated values (CSV) format returns same output as Read? command from console.
URL: http://x.x.x.x/status.csv
For example:
$ curl http://192.168.1.200/status.csv
fan1,"CPU Fan",606,20.20,35.0
fan2,"Rear Exhaust",483,16.10,31.5
fan3,"unused",0,0.00,35.0
fan4,"unused",0,0.00,35.0
fan5,"Front Intake 1",519,17.30,35.0
fan6,"Front Intake 2",456,15.20,35.0
fan7,"Top Exhaust 1",474,15.80,22.8
fan8,"Top Exhaust 2",462,15.40,22.8
mbfan1,"CPU Fan",606,20.20,35.0
mbfan2,"Chassis Fan 1",483,16.10,35.0
mbfan3,"Chassis Fan 2",519,17.30,35.0
mbfan4,"Chassis Fan 3",474,15.80,35.0
sensor1,"Intake Air",23.6
sensor2,"Exhaust Air",29.0
sensor3,"RPi Pico",28.2
FanPico status in JSON format is availabe using following URL:
URL: http://x.x.x.x/status.json
For example:
$ curl http://192.168.1.200/status.json
{
	"fans":	[{
			"fan":	1,
			"name":	"CPU Fan",
			"rpm":	606,
			"frequency":	20.200000763000000,
			"duty_cycle":	35
		}, {
			"fan":	2,
			"name":	"Rear Exhaust",
			"rpm":	480,
			"frequency":	16,
			"duty_cycle":	31.5000000000000
		}, {
			"fan":	3,
			"name":	"unused",
			"rpm":	0,
			"frequency":	0,
			"duty_cycle":	35
		}, {
			"fan":	4,
			"name":	"unused",
			"rpm":	0,
			"frequency":	0,
			"duty_cycle":	35
		}, {
			"fan":	5,
			"name":	"Front Intake 1",
			"rpm":	516,
			"frequency":	17.200000763000000,
			"duty_cycle":	35
		}, {
			"fan":	6,
			"name":	"Front Intake 2",
			"rpm":	450,
			"frequency":	15,
			"duty_cycle":	35
		}, {
			"fan":	7,
			"name":	"Top Exhaust 1",
			"rpm":	468,
			"frequency":	15.600000381000000,
			"duty_cycle":	22.7500000000000
		}, {
			"fan":	8,
			"name":	"Top Exhaust 2",
			"rpm":	459,
			"frequency":	15.300000191000000,
			"duty_cycle":	22.7500000000000
		}],
	"mbfans":	[{
			"mbfan":	1,
			"name":	"CPU Fan",
			"rpm":	606,
			"frequency":	20.200000763000000,
			"duty_cycle":	35
		}, {
			"mbfan":	2,
			"name":	"Chassis Fan 1",
			"rpm":	480,
			"frequency":	16,
			"duty_cycle":	35
		}, {
			"mbfan":	3,
			"name":	"Chassis Fan 2",
			"rpm":	516,
			"frequency":	17.200000763000000,
			"duty_cycle":	35
		}, {
			"mbfan":	4,
			"name":	"Chassis Fan 3",
			"rpm":	468,
			"frequency":	15.600000381000000,
			"duty_cycle":	35
		}],
	"mbfans":	[{
			"sensor":	1,
			"name":	"Intake Air",
			"temperature":	22.925205231000000
		}, {
			"sensor":	2,
			"name":	"Exhaust Air",
			"temperature":	28.996854782000000
		}, {
			"sensor":	3,
			"name":	"RPi Pico",
			"temperature":	28.244960785000000
		}]
}
There is limited TLS support starting firmware v1.6.0. In general, TLS on MQTT Client works fine. But enabling HTTPS support on the Web interface is rather slow. HTTPS works "ok" with 1024bit RSA keys, but with 2048bit (or longer) RSA keys TLS handshake takes several seconds.
This is short example on generating test (dummy) TLS certificate to test with.
First we need to generate private key (we use only 1024bit key as longer keys cause TLS handshake to take several seconds):
openssl genrsa 1024 > key.pem
First, we need to generate CSR (Certificate Signing Request):
openssl req -new -key key.pem -out csr.pem -subj "/CN=fanpico.mydomain.com"
Next we create self-signed certificate using the private key and the certificate request:
openssl req -x509 -days 3650 -key key.pem -in csr.pem -out cert.pem -addext "subjectAltName=DNS:fanpico.mydomain.com"
Both certificate and the matching private key must be installed on FanPico for HTTPS server to work.
Install private key (paste contents of "key.pem" after issuing SYS:TLS:PKEY command):
SYS:TLS:PKEY
Paste private key in PEM format:
Private key successfully saved. (length=891)
(system does not "echo" back the pasted PEM file)
Verify that key is correct by viewing the installed key:
SYS:TLS:PKEY?
-----BEGIN RSA PRIVATE KEY-----
MIICXwIBAAKBgQD5lpK9V/w7CwD4pNOnQd8B73kXv+vBWQERqpjt1b9nmQdyO+8w
Lc4X/IEwT9v/+7AMAbhayI+tb58AYzZ9wVTpY206dQHvkI7eJHkRqojMnshAsuCL
tV1LoRypMysTVU3OD8mKS2u9Urfu42+heCFMJxQPSLiICMQMD0TYBxKDvwIDAQAB
AoGBAIVu74JUsJ9sMZe8nv7zY2MogOemjkau67hjKSE1vf+Hu4hh7G0of98o+nQ2
rZo8F5FDtiiqws1pOGs/n1k568dQOgSABrx/cQ+shwnk4DPn2fpOBtbtBg5kP38F
8JicR7pWmFdt5A6SHne7pAd+BW15s1u4oyAHk25sgabEzgdRAkEA/7eoCyrF5W7Z
UurGfnQzqT7jx2hxXSCgI77g7/OzXsJ0g7lfnzjcpy5eEM0KP+qcg+MTBMCkspvb
ECGjRTOFWQJBAPndLsujF6YwZjfSEPRB82+WE0MndfKypVmYH4lIHhLJ/eJKTCoL
HKfY5sTiyuBpR8fzriatbAem5PynGiS69tcCQQCciBq4gz1SfXFQvWA2BgGdp16d
MQS74f3FA9IDcCUra1MRUwcCmzcOq2ZvWGPezklyvixlK1tl7dvB2yVrdec5AkEA
7hBph6hq3fL7UXAaqz8zHDxXOgKdBJJlrMmeMoS98pT2CudTTjOsJ9gnd6vGNK7a
r45jfYJ6jYfcYUUtSZXBnQJBAP00vtZAN+Rhun5iB/J6yGC4lvJ6/0qDL/LIdUaM
2hXc2Bqx7cN3vRh7rcc95sy6w7XgiVQaSZQCFWyj+66Zep0=
-----END RSA PRIVATE KEY-----
Install certificate (paste contents of "cert.pem" after issuing SYS:TLS:CERT command):
SYS:TLS:CERT
Paste certificate in PEM format:
Certificate successfully saved. (length=834)
Verify that certificate is correct:
SYS:TLS:CERT?
-----BEGIN CERTIFICATE-----
MIICOzCCAaSgAwIBAgIUHVB3Id+c9L86X7Cjx2pi3Jn5U8YwDQYJKoZIhvcNAQEL
BQAwHzEdMBsGA1UEAwwUZmFucGljby5teWRvbWFpbi5jb20wHhcNMjQwMTIxMTkz
MzA0WhcNMzQwMTE4MTkzMzA0WjAfMR0wGwYDVQQDDBRmYW5waWNvLm15ZG9tYWlu
LmNvbTCBnzANBgkqhkiG9w0BAQEFAAOBjQAwgYkCgYEA+ZaSvVf8OwsA+KTTp0Hf
Ae95F7/rwVkBEaqY7dW/Z5kHcjvvMC3OF/yBME/b//uwDAG4WsiPrW+fAGM2fcFU
6WNtOnUB75CO3iR5EaqIzJ7IQLLgi7VdS6EcqTMrE1VNzg/JiktrvVK37uNvoXgh
TCcUD0i4iAjEDA9E2AcSg78CAwEAAaN0MHIwHQYDVR0OBBYEFDVNfdeMTRNV8y96
UCm2XciMW6dOMB8GA1UdIwQYMBaAFDVNfdeMTRNV8y96UCm2XciMW6dOMA8GA1Ud
EwEB/wQFMAMBAf8wHwYDVR0RBBgwFoIUZmFucGljby5teWRvbWFpbi5jb20wDQYJ
KoZIhvcNAQELBQADgYEAL6SiKzHeYwS7H959sD6uoAiUQYA7S4WFlUnsUIhA5RKz
21N+E7/4b9kQUKEPW5aNoD5Ncbz+8v12JJKZNSQFkG2I6KJgx3IHqsIvU/xtTVTR
QWoUdHtSfxW38JbN5trz8CNYyniCMpFc8pg1Rmj87Qgl0vOSFjuXMA/St8ijprM=
-----END CERTIFICATE-----
After installing (or updating) certificate, FanPico must be rebooted (reset) as it only checks for certificate during boot.
To reset unit use *RST command:
*RST
(alternatively reset unit using the RESET button)