Home
roomRequest can be installed in your own node environment or you can quickly deploy on Heroku. Before either of these methods can be used, the following prerequisites need to be met.
Deploy to Heroku -or- Generic Node deployment
Obtain a Spark bot token. If you do not know how to do this, follow these instructions. Save the bot token that was generated, we will need it soon.
Dialogflow is used to capture input from the user. Dialogflow allows the order of this information to vary. For example the end user can type: "ORD tomorrow at 1pm" or "book ORD". The first example provided the bot with all the info it needs to lookup an available space. In the second example the date and time were not provided. The bot will continue ask for the missing information.
-
Log In to Dialogflow
-
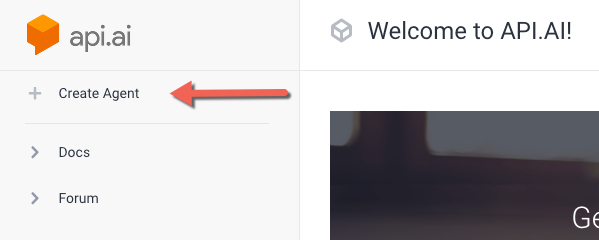
Click on "Create Agent"
-
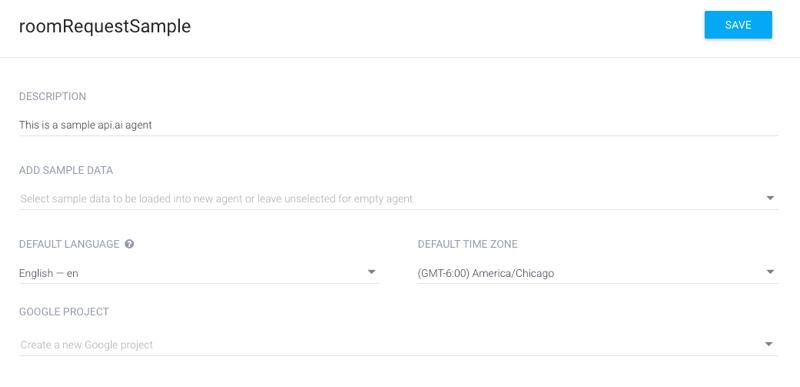
Fill in the name, description, and default time zone. Click "Save".
-
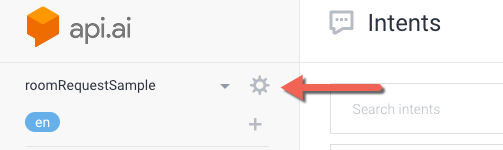
Once complete, you will be returned to the api.ai console. Click the gear next to the newly created agent.
-
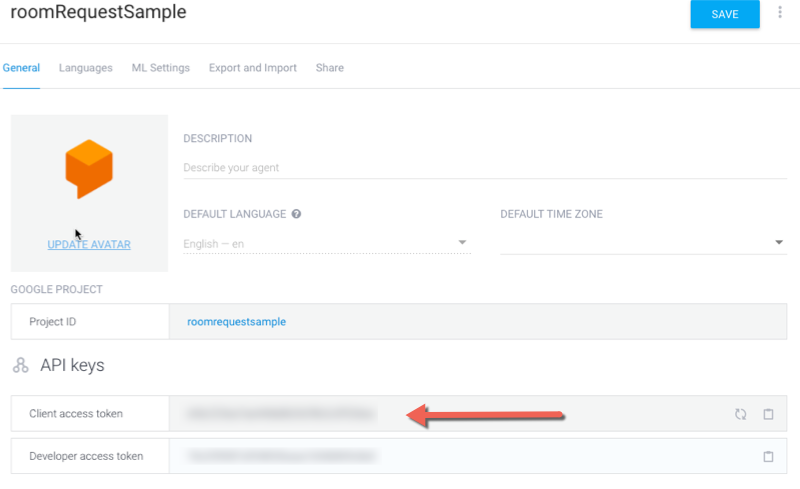
Confirm that the agent is set to use the V1 API. Copy the Client access token. This will be needed later when we deploy configure roomRequest.
-
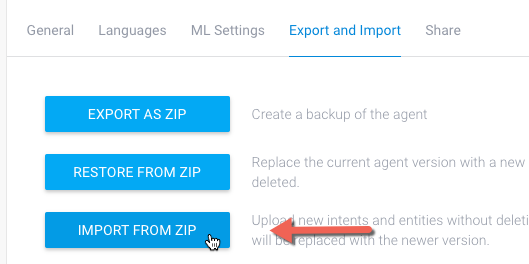
Click on "Export and Import" and then "Import From ZIP". Upload the roomRequestDialogFlow.zip file found in this repo's sample folder. This will create the api.ai intents and entities.
-
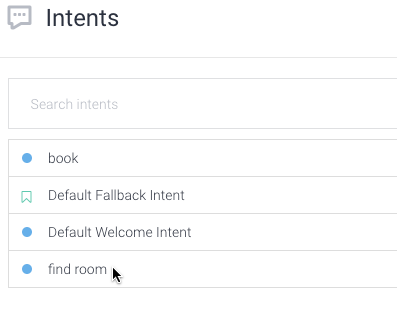
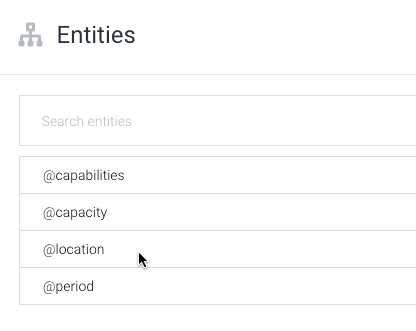
Once imported you should see the following:
-
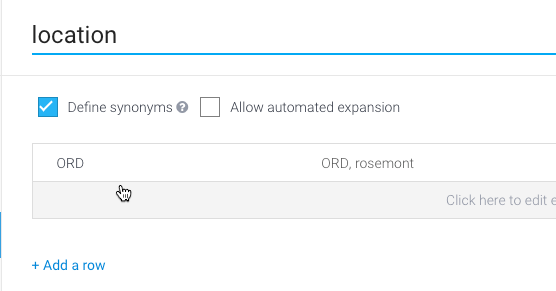
The location entity is used to determine what building IDs exist. "ORD" was added and matches the example database information. This will need to be updated to include information relevant to your deployment. The other entities aren't used yet. They are items I plan on adding in the future.
In order for roomRequest to pull free/busy information and book rooms, a service account needs to be created and given application impersonation rights. Below is an example of how to set this up on Office 365. Start by creating an account to use for scheduling. Once that is done follow these steps.
-
Log In to: https://outlook.office365.com/ecp/ with your admin credentials.
-
Click on "Permissions" and make sure "admin roles" is selected.
-
Click on the plus sign to create a new Role group.
-
On the New Role group pop up window, type in a name for the role.
-
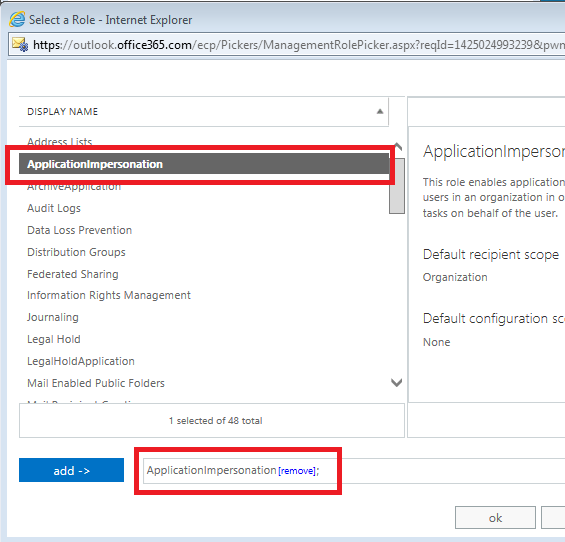
Click the plus sign below the Roles: area and select ApplicationImpersonation in the list under DISPLAY NAME then click the "add" button and then click "OK"
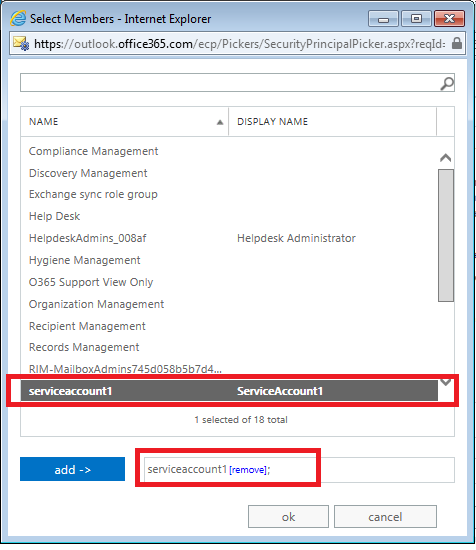
- Under the Members: section click on the plus sign and select the user that you created previously as a service account to use with roomRequest. Next click "add" and then click "ok".
- You have successfully created your service account and added the ApplicationImpersonation role.